Saturday, August 25, 2012

Ticket Reward System

Whew, with school starting, I have been so busy adjusting to all the changes this year I forgot to post about what good things are happening with my ticket reward system!  We just completed our second full week of school, and let me tell you, it has been a doozie of a school year already!  These kids need some major motivation this year, and I believe my ticket system is helping with that at little cost to me.  My school has virtually taken away all of the candy rewards we can give students, plus I have two children with diabetes in my room, so I feel bad rewarding anyone with candy when they are not allowed to have it!  So, I tweaked my ticket system from previous years that worked so well with the intermediate kids.  

As a form of review (and also to get my 4 rotating classes of kids settled and to work right away) I use "flashbacks" which are a few questions that "flash back" to previous topics learned in the school year, or at this point in the year, to topics learned last year.  Anyway, I try to grade these questions right after kids finish to give them immediate feedback, so I require students to read when they finish in order for me to get to everyone and let everyone finish before we move on.  

Tickets are a great way to let students know I notice their good behavior and get them in the habit of reading after they complete work instead of talking.  I drop a ticket off at a student's desk whenever they are caught doing the right thing (often when other students around them are not).  I have found that when students see that I notice others' good behavior, they usually follow suit.  

The tickets go into a lottery that is only drawn on Fridays, so I only need to supply one reward per class per week.  Having 4 classes and 2 different grade levels to keep up with can get very confusing, so I found a way to make the students responsible for organizing their own tickets if they want to make the lottery.  I purchased 4 small buckets from the Target "dollar aisle" and secured them to the wall beside my agenda that is conveniently located next to the door which students exit through each day to go to their next class.  


The students are instructed to drop their tickets off in the correct bucket as they exit the room, so I do not have 20-something kids getting up during class to deposit their tickets.  It is their responsibility to keep up with the tickets until then and make sure they put their name on the back.  I never have a problem with no-names on these babies!  I labeled each bucket with Math 1, 2, 3, or 4, so students know which class to put their tickets with.  This has worked out great so far, and made it so easy for me to keep track of all the tickets!  

This is also a great math lesson in probability.  At this age, students are able to comprehend the fact that the more tickets they earn, the better chance they have of being the one chosen; yet not quite able to comprehend the unlikelihood of their one name being pulled out of 100 or more tickets.  ;) It also gets the kids excited about the mystery of who the winner will be each week.

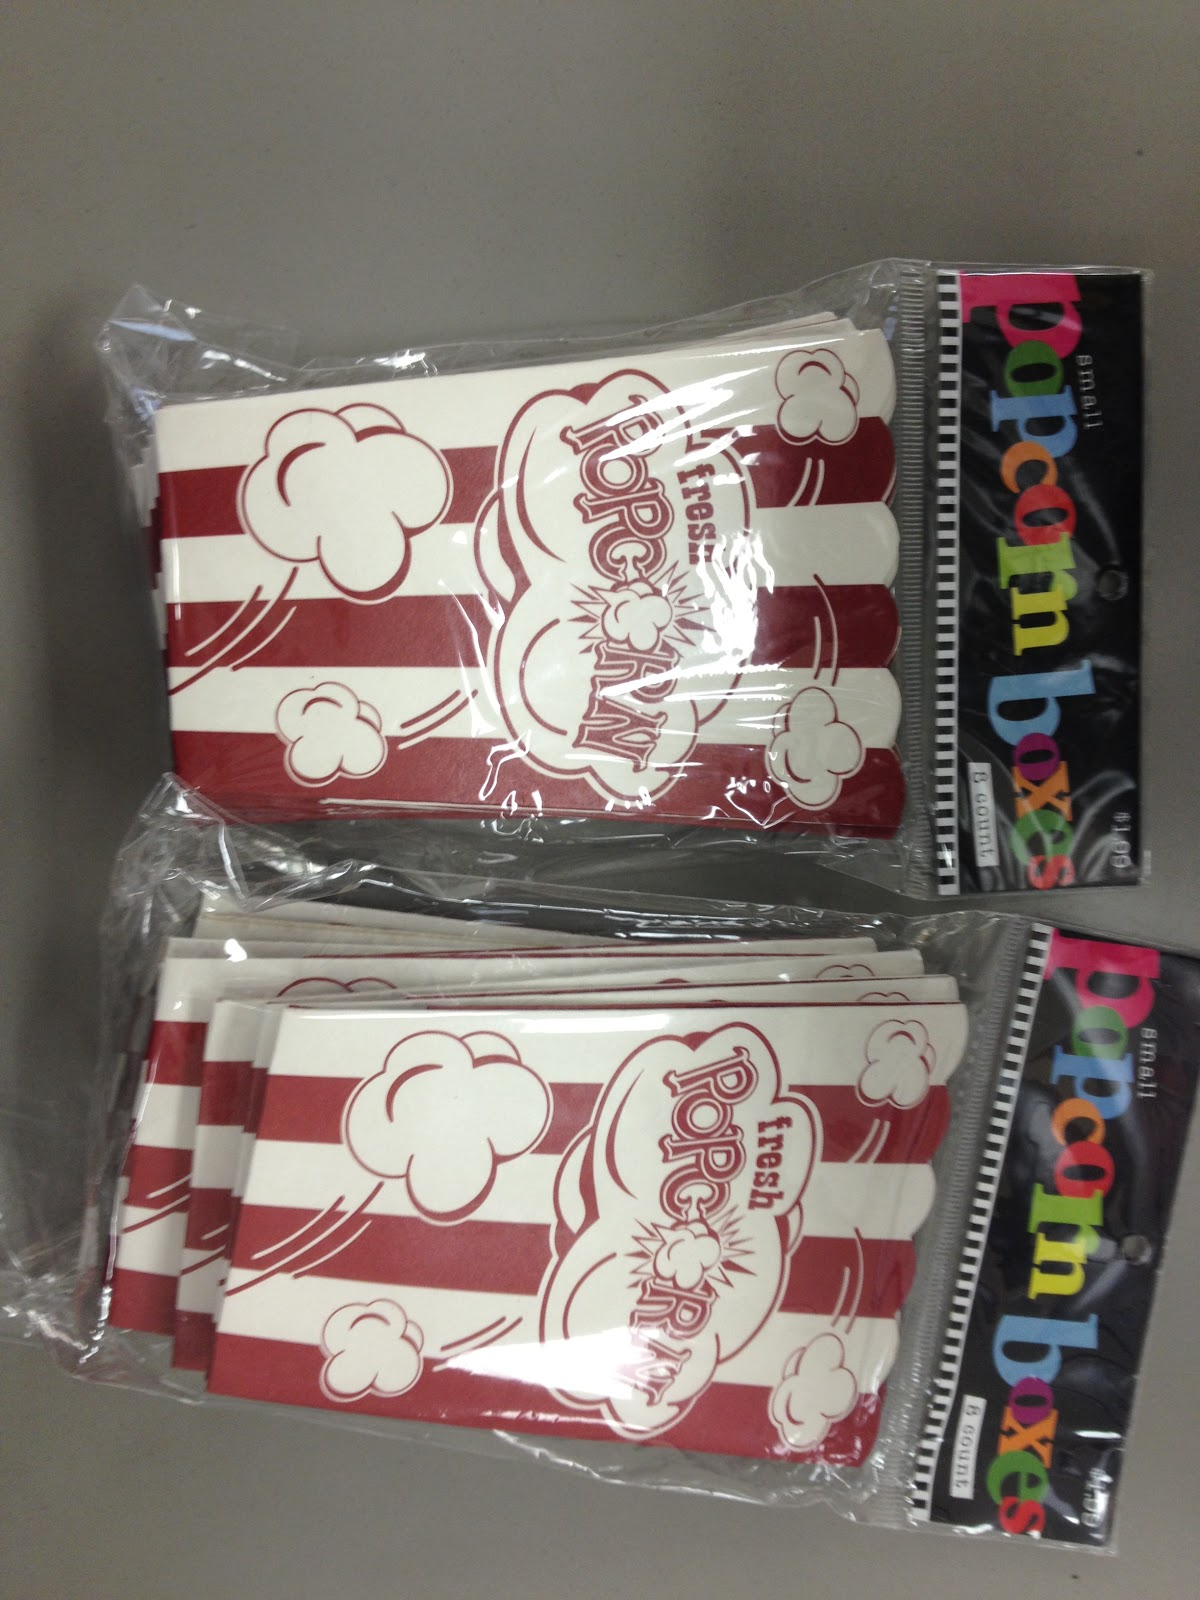
I guess I'll be heading to the dollar aisle tomorrow to select 4 awesome items for students to win this week!  I think putting them on display throughout the week may remind them of what they could earn if they do what is right!!  

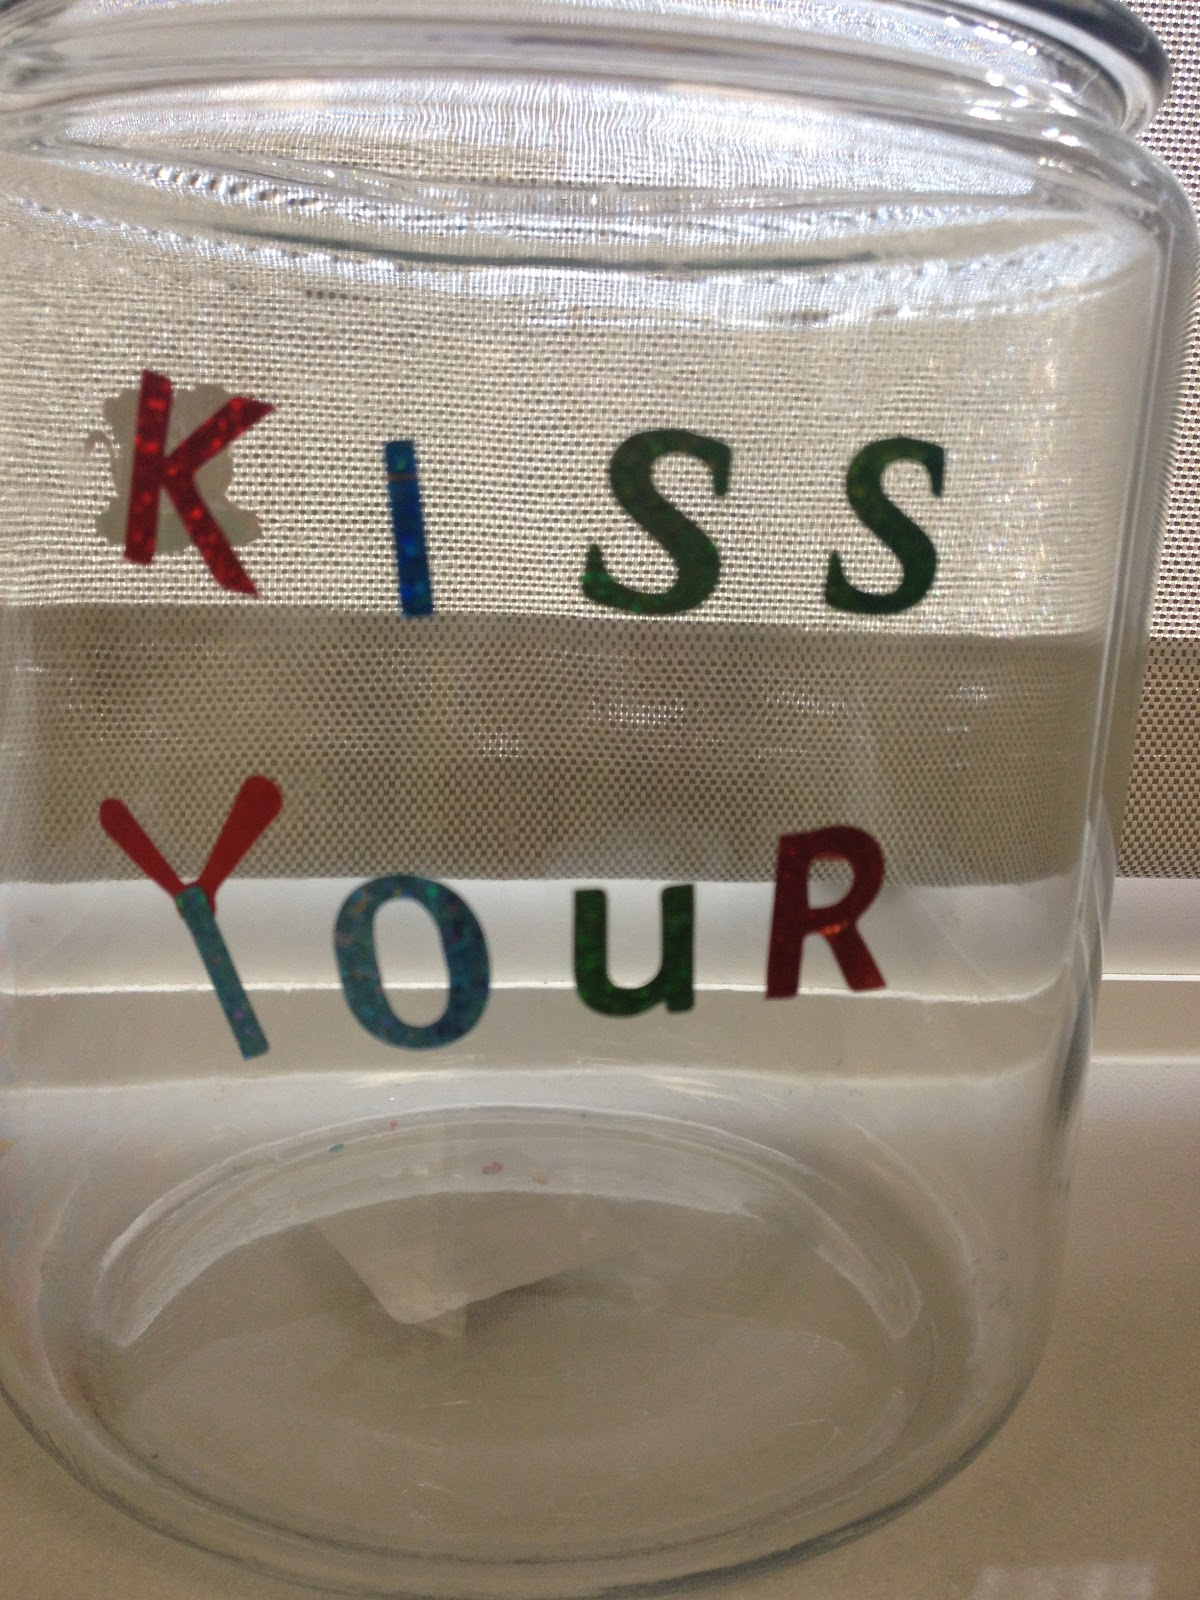
All the rewards aren't tangible, though.  I also have "Mystery Cards" they can choose to draw instead of receive a prize.  The rewards on the cards range from sitting at the teacher's desk for the day to bringing a stuffed animal to school for the day.  

*one last note: I buy the big double rolls of tickets at Wal-Mart for about $7 and they last me almost entirely the whole year.  Pretty sweet deal to keep 99 4th and 5th graders on task and motivated for a whole school year!!! :) 

* ms. charity * 

Thursday, August 9, 2012

First Day of School Funnies and Freebies!

What a crazy, stressful first day!  I felt like I was running around all morning- everything seemed like a blur with 4 classes rotating before lunch and no break!  Although it was crazy, the day didn't pass without students making me giggle.  I think that is one of my favorite things about my job!  I never go a day without laughing!  My original plan for this blog when I first created it was to record all the funny things kids say.  I could write a book of the funny stuff I hear from day to day.  Problem is, it is not always funny unless you know the kid or the specific situation.  Of course, all summer I devoted myself to getting my classroom ready, but come day 1, I had new kids and new material to make people laugh.  I am teaching all 4th and 5th grade math this year, so I decided to give a math survey to get a feel for the ideas kids already held about math.  I learned a whole lot from these surveys, and it helped me get a head start on those kids that expressed they did not like or "hated" math.  I am fully devoted to finding ways to make those kids that hate math change their minds.  That being said, my last question on the inventory read, "Is there anything else I need to know about you and math?"
Although I am a little embarrassed of this question because the wording is kinda funky, I did get some interesting responses from it.
Here are a few responses from my high-achieving 5th grade class:

"I am one of the very best people in math."
"We don't really like each other."

... and my personal favorite:
"Yeah, I'd say we are a pretty good couple."

I love these kids already.  So witty and smart!!


- If you would like to see my math survey, I have posted it on Teachers Pay Teachers at the link below.  I also included a FREE Mathematics Parent Survey to send home for parents to fill out and return.

http://www.teacherspayteachers.com/Product/4th-5th-Grade-Back-to-School-Mathematics-Interest-Survey

http://www.teacherspayteachers.com/Product/Mathematics-Parent-Survey


If you already started school, I hope you had a wonderful first day, and if you haven't started yet, I hope it is awesome!  Bring on day 2!!!
*ms. charity*


Sunday, August 5, 2012

Thanks for Popping in!

So, for back-to-school night this year, I couldn't really find anything cutesy to go with our theme, so I searched Pinterest for other ideas. I found the cutest (and cost-effective) idea on this adorable blog!  I used her "Thank you for popping in" printable, but my final product turned out a bit differently.  I bought some cute little popcorn boxes at Hobby Lobby in the birthday favor aisle.

I originally thought about actually popping the popcorn and putting it in these little boxes for back-to-school night, but:

1. I didn't really have time the day of because we had a PD that morning.

2.  I was a little worried about the mess and it not being enough for the families to share.  

So, I bought a 24 pack of popcorn and decided to give each family a pack of their own to take home.


I used double-sided tape (I should buy stock in this stuff) to secure the "Thank you for popping in" note to the bag of popcorn.


I planned to place the popcorn bags inside the little popcorn boxes, but they would not fit.  I decided to just use double-sided tape yet again to tape the popcorn bag to the back of the popcorn boxes like this:


They could now stand up on their own, but the popcorn boxes were empty, so I had to think of something to fill those with- preferably something that resembled popcorn...


I found some yellow tissue paper that worked just wonderfully!


They were definitely a big hit with all who came!  

I also projected this message on the whiteboard to welcome parents and also let them know exactly what I needed from them before they left.

Welcome to 5th grade!  
I am so glad you’re here!!
Please find your seat and fill out 2 papers from your folder if you have time
:

1.    Green Enrollment card- in front of folder on right side
2.    Light yellow transportation for first 3 days of school

*Don’t forget to take a magnet from the board and your bag of popcorn!  

Thanks for POPPING IN! 

On another note, we start school in 2 days!!  Excited and anxious!  

*...and thank you for popping in on my blog!  

*Ms. Charity*


Wednesday, August 1, 2012

Rules/Contract Design


I only needed a few items for this project: 
7 large polka dots that I had left over from my desk decor and ribbon to match
a high-temp glue gun
scissors
a marker to write with


Instead of another boring chart with rules listed, I decided to use each circle for a different rule with a couple extra circles...

The top circle was used to label the chart with "We agree to..." since this will serve as a class contract.


Each circle underneath is numbered 1-5 for each of the five rules we will create as a class.

Following the list of rules, the last circle will be a place for students to sign their names, agreeing to the contract.


Lastly, I had to add a bow on the top to make it extra cute!  


I can't wait to see what the kids come up with!  It is an awful long chart, but I think I found the perfect place for it!  Now our rules can stay up all year to remind students about our agreement.


*ms. charity *


Saturday, July 28, 2012

Back to School Interactive Rules & Procedures

I have created a PowerPoint that is EDITABLE through Teachers Pay Teachers to use on the first day of school to really help your students know what is expected of them in your class.  You can change the questions/answers to suit your specific behavior plans.  I have used this "game" with 5th graders for two years, and I will be using it with 4th graders this year.  What a great way to give students a voice from the very beginning of the year!  From my experience, students behave better when they are allowed to take part in the decision-making process and the development of the rules.  They do such a good job every year, and the students really enjoy being an interactive part of this usually "boring" process.  

Just visit this link to download the preview to see if it's something that would work for you!

Friday, July 27, 2012

Hope Hollywood!

Okay, so this is not a teaching-related post, but I am so excited about my sister starting her own blog that I just have to share.  She is such a good writer!  I have told her she needs to start putting her stories down where people can read them.  I know her blog will be interesting!  It has nothing to do with teaching (since she thinks I'm crazy for choosing to be around kids all day as a job), but it is about her life, which I live vicariously through her.  Check it out!!!


I love the name she chose for it, by the way!


Monday, July 23, 2012

Kiss Your Brain!

Last year, following one of our BIG tests at the end of the year, I promised my students that when it was all over with, they could kiss their brains.  Of course, this idea motivated many of them to finish on time and with much effort.  They had no idea what "kiss their brains" meant but offered plenty of suggestions.  After they finished, the students were delighted to find that it meant they received a Hershey's kiss for all their hard work.  As I put it, their brains deserved a treat for doing so well.  This year, I plan to implement this concept from the beginning of the school year and not just for tests.  

I had an old glass candy jar that I have had since I started teaching. (That was a whole 3 years ago!)  


I had also just bought some shimmery stickers for kids to personalize with. 


Why not use what I already had to make an awesome motivational tool?  Couldn't find a reason not to, so this is what I did:


Now, you are not going to believe this, but I bought these alphabet stickers and searched and searched for a "Y" or "y."  I wasn't picky.  There was no "y" whatsoever on any of the 6 sheets I bought!  Crazy I know.  So, I manufactured a "y" with two exclamation points and a lowercase "l."  It is pretty obvious, but kids don't care, right? (as long as they are getting candy...)


... and now all I need are the actual kisses (and some smart brains to kiss!)


* ms. charity *


Friday, July 20, 2012

Calendars, Schedules & Agendas

Since I will be teaching ALL math for 2 different grades this year (this is a first for me and only my second year teaching 5th grade math), I had to re-design my bulletin boards to fit 2 different Calendars for our Calendar Math that goes along with our Singapore "Math in Focus" series.  I really thought calendar last year re-enforced those year-long skills that students needed.  I am not familiar with the 4th grade calendar, but what I have seen so far looks pretty similar to the fifth- just simplified.  Anyway, although the calendars are similar, they focus on different skills at different times throughout the year, so I will need two separate calendars- one for 4th, one for 5th. 

As long as I was re-doing the layout, I thought I might as well change to something that would last a little longer.  So, I exchanged the bulletin board paper for material.  I chose bright orange material to match my curtains that my grandmother made me for my brand new classroom (new building) last year. :)  I kept the same border that matched my orange paper last year.

Here is a picture of my small bulletin board with the curtains:  


... and my new fabric bulletin board with the border from last year. 


I also have a large bulletin board (like two of these out together) in the middle of my room.  I used this bulletin board for the 5th grade calendar last year.  Since I wanted an area to post student achievements and my "Mathematician of the Week" idea that I will share in a later post, I divided the big bulletin board into two areas for calendar.  I used the rest of the orange fabric I bought (I purchased 2 1/2 yards so I had plenty) for one side of the bulletin board.  I wanted the other calendar to be in a different color to contrast the two sides and so I wouldn't have a whole wall of orange plus orange curtains above that.  I chose Kelly Green because I love that color, and it looked good between the orange and with the calendar border.


I chose a border with numbers on it since we will be doing calendar math on this board.  One strip down the middle sets of the two sections wonderfully.


Here is the calendar for 5th grade on the orange side:


Here is a picture of the big bulletin board with the curtains.  The other small bulletin board is on the other side of the right window.  I am glad that I didn't go with ALL orange.


To my small bulletin board, I added a schedule and a student recognition chart.  I plan to put my "Mathematician of the Week" in the empty space above the poster.


On my small whiteboard, I jazzed it up to create an agenda area for my 4 math classes.  I used this last year, and it really helped keep my students, as well as myself, organized.  I laminated the border and placed sticky magnets on the back for easy removal when the board needs a good cleaning.  I love how I had just enough polka dot rectangles left over from the schedule to have one for each class.  I also laminated these and placed magnets on the back.


- ms. charity -


Thursday, July 19, 2012

Monogram Book Ends


When I saw these letters at Hobby Lobby, they were of course not something on my list.  I had an idea to use something I was buying for another project on them, though.  My mom is also a teacher, and her room is decorated in giraffe.  So, I browsed the scrapbook paper and picked up 4 sheets of the giraffe design (one sheet for each side of the "Y's").  I was buying the spray adhesive for another project I will share in a post soon.  All that I needed now was an Exacto knife.  


I sprayed one of the sides of the "Y" with the adhesive, then firmly pressed the "Y" on the back of one of the sheets of giraffe scrapbook paper.  


I made sure to line up the edge of the "Y" with the edge of the paper in order to make a clean line.  
Then, I used my Exacto knife to cut very closely along the edge of the "Y" on all sides.


 This is what it looked like when I finished:


Then, the sides of the "Y" were still not covered, so I decided to paint them a bright color.  What other color to remind us of giraffes than yellow?


I plan to brush on a layer of mod podge over the top just to seal the rough edges.


It stands on its own, and it will look just adorable on a bookcase next to some books!

-CJY-

Wednesday, July 18, 2012

"I'm Done!" Jar & "Hey, that's MY pencil!"

Last year, I wrapped a recycled can in scrapbook paper and covered it with mod podge to be used as a pencil can.  Students would just take my pencils as they pleased, and most never returned them.  It got to the point where I was putting an entire package of pencils in the jar almost daily.  RIDICULOUS.  So, I decided to retire the pencil jar, and add a special touch to make it into something more useful.  I also have a new idea for the pencil problem I will share later in this post.  

So, I wanted a jar in which students knew where to go to get extra activities if they happen to finish before others, or even just 5 minutes before class is over.  (We all know that 5 minutes for a 5th grader that has nothing to do can mean an eternity for the teacher who is trying to keep the class on task.)  All I did was buy some chalkboard paint, which will serve many uses this year, and paint a small square on this can.  You have to paint horizontally and wait an hour, then add another coat vertically.  After that was finished, I took some chalk and wrote "I'm Done!" on the jar (even though we know that is not proper English!).  I am making an exception for this because there's not enough room to write finished, and we all know students always say, "I'm Done, now what do I do?"  Well, now they will know what to do.  No questions asked.  I wouldn't miss that statement if I never heard it in my classroom again.  So, here it is:


I plan on printing out tasks on strips of paper and folding them up for students to grab.  Hopefully, this will help students who finish early use their time efficiently as well as remind students that rushing through your work doesn't mean there is a prize at the end.  It means you get more math to practice!  hehe...

So, now I had a brand new system in place, but my pencils were homeless.  No problem, I had a wonderful new idea in mind for those pencils.  I created a "Pencil Hospital" in which students are allowed to place their broken, run-down, "sick" pencils for repair or re-sharpening and will not waste class time finding another one.  There, right below the Pencil Hospital, would be a whole drawer full of lively, newly sharpened pencils.  Ahhhh  <---- sigh of relief!

But wait, you say, won't kids now run off with your newly sharpened pencils just like last year, and leave you with their sickly pencils?  Interestingly enough, I have an idea (although it has not been kid-tested or teacher-approved... yet) to fix this pencil problem.  I have secured duct tape (bought for an earlier project) to the ends of all "MY" pencils.  If a student is caught "stealing" one of these, it will be obvious.  This may not fix this never-ending pencil problem, but it will very likely cut down on the number of pencils "stolen" to never be seen again.  So here are my duct-taped pencils.  :)


The Pencil Hospital I spoke of is still under construction, but I will give you a sneak peek of what I am working on.


Simple.  Just two drawers- one labeled "Pencil Hospital" and one labeled "Ready Pencils."  The top will have plenty of erasers for when the pencils are fine, but the erasers are worn out.  As you can see in the last picture, the cute scrapbook paper I chose to print on is too busy and dark to be able to read the words clearly, so I will be finding a new design to print on.  I will update with pictures when I find the perfect paper.  

-CJY-


Friday, July 13, 2012

Tulle Decor for Classroom

Yes, I am now in the habit of visiting my classroom EVERY day, and July is not even half over.  Good thing I enjoy it!  I also complete at least one craft, it seems, for my classroom every day.  So, here is the craft (or crafts) of the day: Tulle Balls!


At first, I was just going to make multiplies of 2 colors to decorate, but then I decided to make 6 colors and put one above each group of desks I will have.


I think they turned out pretty cute for how easy and cheap they were, even though my fiance commented that they look like loofahs!

Oh well, they will definitely put some color in my room!  I will update with a picture of how I arranged them in my room soon!

-CJY-  

Thursday, July 12, 2012

Easy Exchange Artwork Display

My weekly (if not bi-weekly) routine throughout the school year: Staple 20-some-odd pieces of artwork on the worn out strip outside my door and remove them one by one less than a week later.  Staple up 20-some-odd new pieces of artwork following the weekly art class.  This routine got very monotonous after about the 47th time doing it.  So, I have created a new system that is not only faster and more efficient but also ADORABLE!  


First, I bought these adorable mini clothespins.  They were a little boring, so I decided to paint them a fun color: turquoise!  


While I was searching for the border for my staple strips for artwork, a brilliant idea came about.  I could glue on these little clothespins to the border to clip work onto instead of stapling, de-stapling, and re-stapling every week!  


So, when I got to school, I got to gluing on the little turquoise clothespins!  Here is what it looks like:


I had to make sure to space out the clips enough so that a normal sized piece of paper could fit both longways and sideways.  


This will make it sooooo easy to take papers down and put them up!  I am so excited about how cute it turned out as well.  I love the black and turquoise together.  


-CJY-